1. First Install Windows Server 2003/2008 and get the machine up to scratch (in this instance I use 2003 R2 SP2 64bit enterprise version), after installing the operating system it is a good idea at this time to install any critical windows updates or any other server additions you would like to install. In my case the majority of my servers will be acting in an application role, so at this point I add the application server role to the server. I also take the time to install the .NET framework 3.5.
2. After everything is ready to rumble, insert CD1 of your Windows Server 2003 disc (keep in mind 2008 already has the required tools installed in the system32 directory so you can skip this step).
3. Open the support folder on your Server 03 CD and browse to \SUPPORT\TOOLS\DEPLOY.CAB.
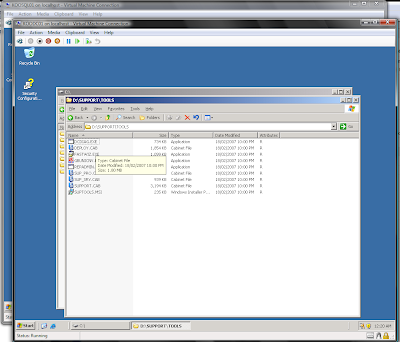
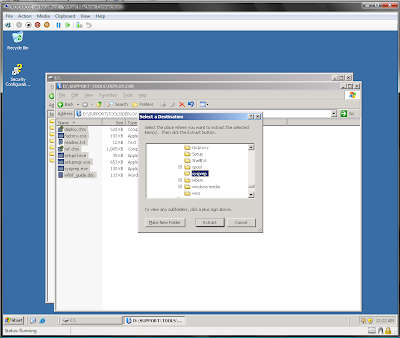
4. Once you have open the CAB file select all of the files inside and right click extract. Extract to Windows\System32\Sysprep (mainly for consistency with 2008, however you can extract it to wherever you like).
5. Now browse to the directory and run setupmgr.exe, click next and then next again to create a new answer file for your installation.
6. Select Sysprep setup and click next.
7. Select your version of Windows server and click next.
8. Change the option to fully automated setup and click next.
9. The next window will allow you to create the answer file for your installation. Fill out all the detail required except where you enter the computer name type in something like "REMOVE".
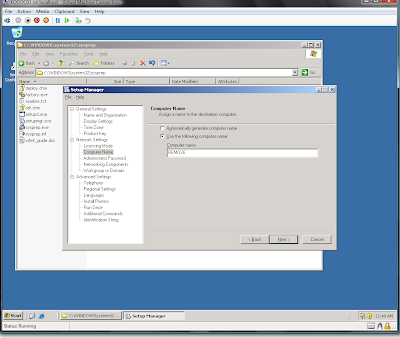
10. Continue to click next and fill out the details, under workgroup and domain you may chose to not enter your domain yet (I did this as my first machine was a Domain Controller and I didn't want to clone that VHD as being all DCs). You can add your PC to the domain once you have booted up for the first time.
11. Once you have completed all of the information and saved your answer file close the manager (clicking on cancel will close it, I suspect this is a bug).
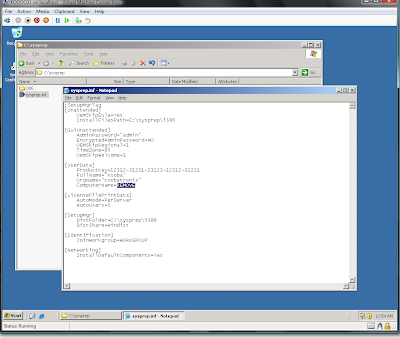
12. You will notice that there is now an answer file in your System32\sysprep directory. However the one that Windows actually uses when it boots up for the first time after sysprepping the machine is in the c:\sysprep\ folder. Double click on the answer file and remove the text that says 'REMOVE' this will prompt the automated install to stop at this point to ask you for a computer name, therefore enabling you to be able to rename your virtual servers at the point of initial installation.
13. The final step for the system preparation is to go back into the System32\sysprep directoy and double click on sysprep.exe. Click OK and then click on 'reseal'. This will shutdown the machine.
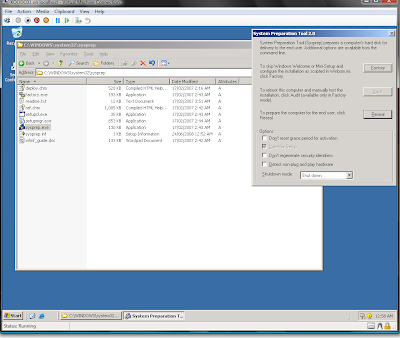
Now the machine is shutdown, grab the VHD and rename it something like: 2003_Template or whatever you like and make as many copies as you want, when you boot the machine up it will automatically run the initial system setup as if it was a fresh machine, prompting you only for the Computer Name. Remember to add your new server to the domain and away you go! Happy virtualizing!


1 comment:
Thank you very much for your clean and easy explanation.
I followed it without probs.
Thanks!!
Post a Comment